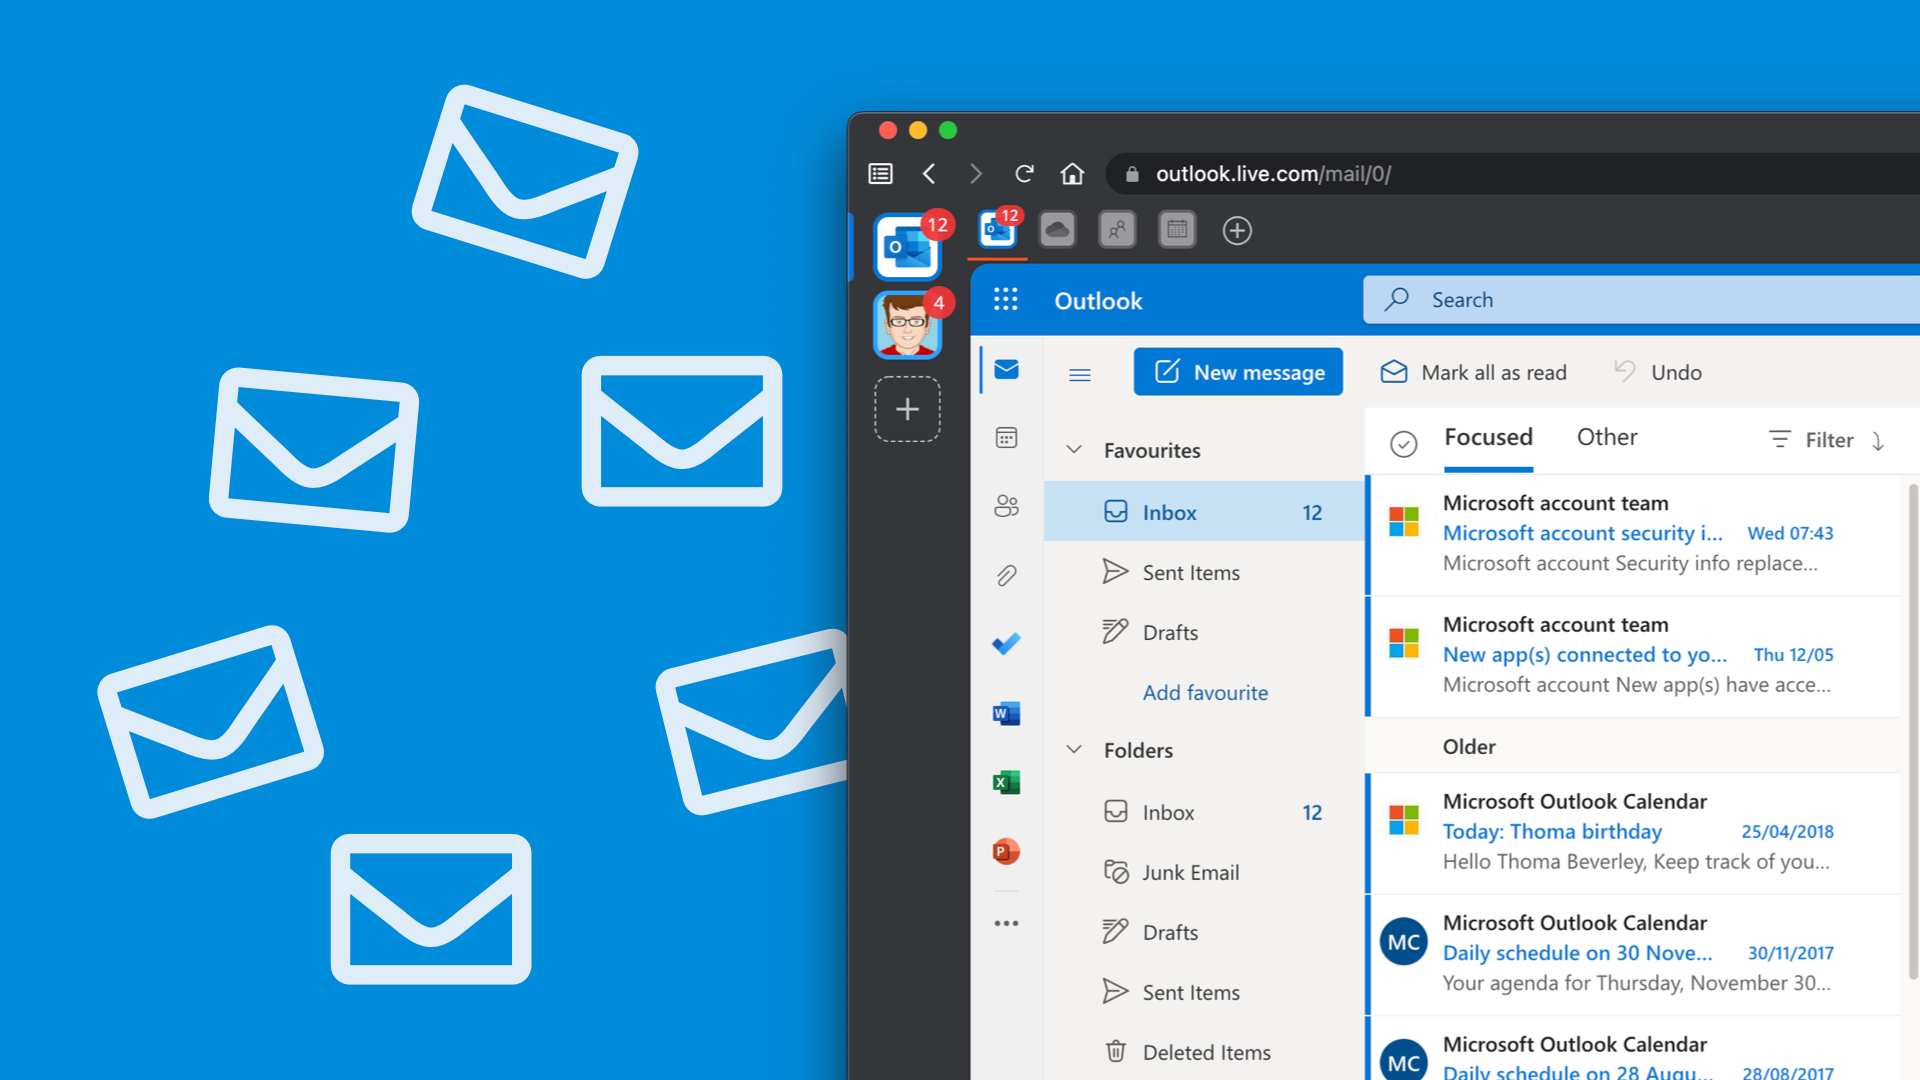
Configuring your email in Microsoft Outlook when using cPanel-based web hosting is a straightforward process. This guide will walk you through the steps to set up your email account in Outlook, ensuring you can send and receive emails seamlessly.
Step 1: Open Microsoft Outlook
1. Launch Microsoft Outlook on your computer. If you don’t have it installed, you can download and install it from the Microsoft website.
Step 2: Add an Email Account
1. In Outlook, click on “File” in the top left corner.
2. Under the “Info” tab, click on “Add Account.”
Step 3: Choose Email Account Type
1. Select “Manual setup or additional server types” and click “Next.”
Step 4: Choose Email Service
1. Choose “POP or IMAP” and click “Next.”
Step 5: User and Server Information
1. Fill in the following information:
– Your Name: Enter your full name.
– Email Address: Your full email address.
– Account Type: Select either “IMAP” or “POP3.” (IMAP is recommended for synchronizing email across devices.)
– Incoming Mail Server: Enter your incoming mail server (usually in the format of mail.yourdomain.com).
– Outgoing Mail Server (SMTP): Enter your outgoing mail server (usually the same as your incoming server).
Step 6: Logon Information
1. Fill in the following information:
– User Name: Your full email address.
– Password: Your email account password.
Step 7: More Settings
1. Click on the “More Settings” button.
Step 8: Outgoing Server Tab
1. In the “Outgoing Server” tab, check “My outgoing server (SMTP) requires authentication.”
2. Select “Use same settings as my incoming mail server.”
Step 9: Advanced Tab
1. Switch to the “Advanced” tab.
2. For IMAP:
– Incoming server (IMAP): 993
– Use the following type of encrypted connection: SSL/TLS
3. For POP3:
– Incoming server (POP3): 995
– Use the following type of encrypted connection: SSL/TLS
4. Outgoing server (SMTP): 587
5. Use the following type of encrypted connection: STARTTLS
6. Click “OK” to save the settings.
Step 10: Test Account Settings
1. Click “Next” to let Outlook test your account settings. It will check incoming and outgoing servers.
2. If everything is configured correctly, you’ll see a “Congratulations!” message. Click “Finish” to complete the setup.
Step 11: Complete the Process
1. Back in the “Add Account” window, click “Finish” to complete the email configuration process.
It is a simple way to configure your cPanel-based email account in Microsoft Outlook. You can now start sending and receiving emails through Outlook using your web hosting’s email services. If you encounter any issues during this setup, double-check your email server settings and credentials or contact your web hosting provider for assistance.


